
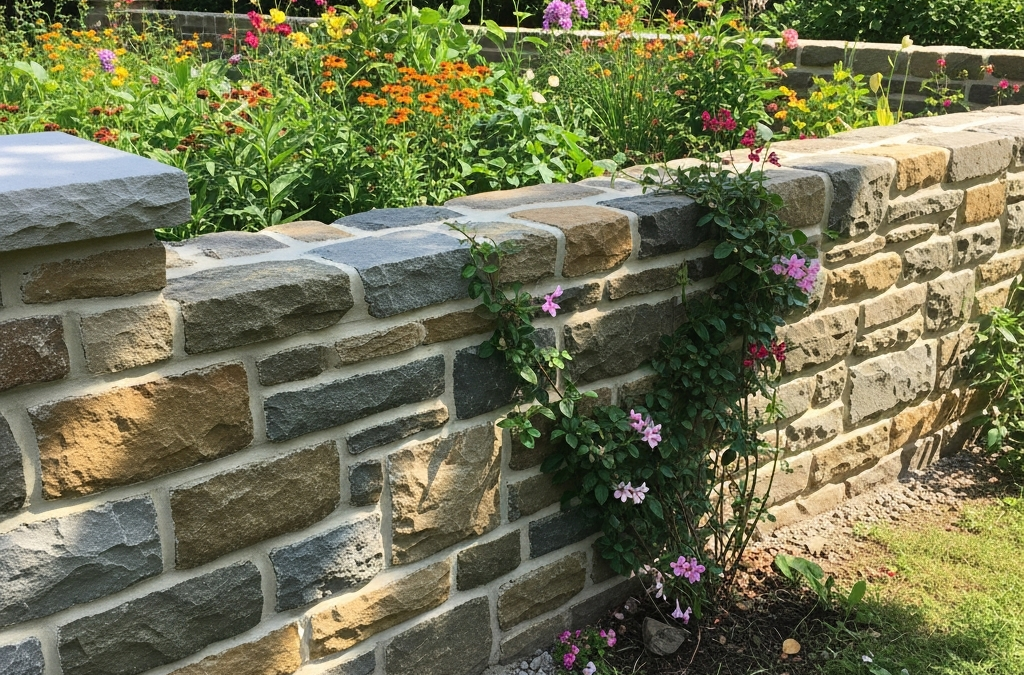
Garden Wall Construction: A Comprehensive Guide
A well-constructed garden wall can enhance both the beauty and functionality of your outdoor space. Whether you’re looking to define boundaries, create privacy, or simply improve the aesthetic appeal of your garden, proper garden wall construction is essential. This guide will walk you through the key considerations and steps involved in building a durable and attractive garden wall.
Planning Your Garden Wall
Before you begin any construction, careful planning is crucial. Consider the following aspects:
- Purpose: What do you want the wall to achieve? Is it primarily for decoration, security, or retaining soil?
- Location: Where will the wall be situated? Check for any underground utilities and property lines.
- Materials: Choose materials that complement your garden and home. Common options include brick, stone, concrete blocks, and timber.
- Design: Determine the height, length, and style of the wall. Consider incorporating features such as pillars, coping stones, or decorative elements.
- Budget: Set a realistic budget that includes materials, labour (if you’re hiring professionals), and any necessary permits.
The Construction Process
Once you have a solid plan, you can move on to the construction phase. Here’s a step-by-step overview:
- Prepare the Foundation: Dig a trench for the foundation. The depth will depend on the height and type of wall, but it should typically be at least 150mm deep. Fill the trench with a layer of compacted hardcore, followed by a layer of concrete.
- Lay the First Course: Once the concrete foundation has cured, begin laying the first course of bricks or stones. Use a spirit level to ensure that each unit is level and aligned correctly. Precision is key for brickwork.
- Build the Wall: Continue laying subsequent courses, using mortar to bond the units together. Stagger the joints between courses to increase the wall’s strength. Use a plumb bob or spirit level to ensure the wall remains vertical.
- Incorporate Drainage: If the wall is retaining soil, incorporate weep holes or a drainage system to prevent water from building up behind it.
- Add Coping Stones: Install coping stones or caps along the top of the wall to protect it from the elements and give it a finished look.
- Finishing Touches: Clean off any excess mortar and apply any desired finishes, such as sealant or paint.
Choosing the Right Bricklayer
While it’s possible to undertake garden wall construction as a DIY project, hiring a professional bricklayer can ensure a higher quality and more durable result. A skilled bricklayer will have the experience and expertise to handle any challenges that may arise; they can also provide valuable advice on design and materials. If you’re in the Brentwood area, consider finding a local bricklayer in Brentwood. Similarly, those in Chigwell might look for bricklaying in Chigwell. And for those in the Braintree area, you can find bricklaying in Braintree.
When selecting a bricklayer, be sure to check their credentials, read reviews, and ask for references. A reputable bricklayer will be happy to provide examples of their previous work and discuss your project in detail.
By following these guidelines, you can ensure that your garden wall is not only visually appealing but also structurally sound and long-lasting. Whether you opt for DIY or professional assistance, careful planning and execution are key to achieving a successful outcome.